
Computer Vision
Explore live landmarks, object detections, and masks from your webcam.
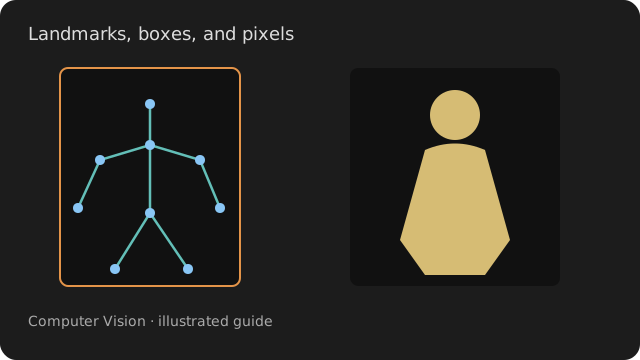
Use one camera feed to compare what the models see: body landmarks, object boxes, and a subject mask.
Start here
Enable Graphics, Signal, and Computer Vision. Both recipes use Camera device 0; change Device if your webcam uses another index.
Models may download on first use. Allow setup to finish, then stand in good light with the subject clearly visible.
Open the first recipe ↓ Bundle setup →
Meet the nodes
Use the node pictures to find the inputs and outputs. Each experiment points to a recipe you can build on.
Measure movement between images
Try it. Optional extension to recipe 1: connect Camera.out to Flow.image to compare optical flow with landmark motion.
Good to know
Flow needs two frames before it can report movement. Values describe motion relative to image width and height per second. Changing frame size restarts the comparison.
Inputs: image: ARRAY
Outputs: flow: ARRAY
Find body, hand, and face landmarks
Try it. In recipe 1, compare pose, hands, and face with the corresponding subject in view.
Good to know
Models need a clearly visible subject. Expression coefficients describe model outputs, not reliable labels of emotions.
Inputs: image: ARRAY
Outputs: positions: ARRAY · velocities: ARRAY · expression: ARRAY
Draw the detected landmarks
Try it. Connect positions and velocities from PoseEstimation. Try tone/colour = part, then speed with a moving input.
Good to know
Keep rig/fit off to preserve normalized image coordinates. Automatic rig selection uses the landmark layout; missing detections can leave the view empty.
Inputs: positions: ARRAY · velocities: ARRAY
Outputs: out: TEXTURE
Find objects and their boxes
Try it. Change objects/confidence and compare how many boxes remain. Use objects/only to request a class such as person or cup.
Good to know
Boxes include confidence and class information. A model may miss an object or assign the wrong label; inspect the image alongside its output.
Inputs: image: ARRAY
Outputs: boxes: ARRAY
Make a mask for a subject
Try it. Start with segment/subject = selfie on a portrait. Raise segment/soften to blur the edge.
Good to know
Scene mode uses segment/category to choose a class. Category 0 is background. A mask contains per-pixel values, not a bounding box.
Inputs: image: ARRAY
Outputs: mask: ARRAY
Patch recipes
Your movement as a skeleton
See your webcam beside the landmarks drawn as a moving skeleton.
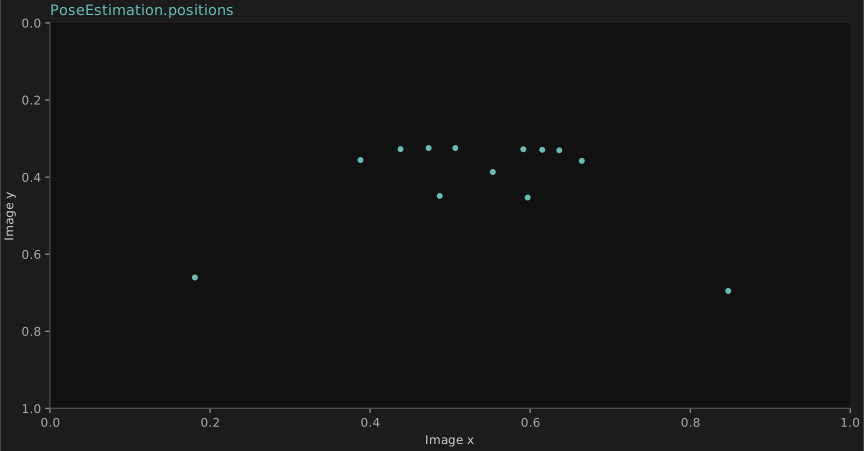
- Check Camera.out, then choose Device if the webcam is not the one you want. Mirror changes left and right.
- Start with Mode set to pose and step back so your body is visible. Watch Skeleton update as you move.
- Try hands with a hand close to the lens, or face with your face clearly visible. A new mode may need to load its model.
Camera.outPoseEstimation.imagePoseEstimation.positionsSkeleton.positionsPoseEstimation.velocitiesSkeleton.velocitiesWhat to look for. The detected points form the selected rig. The input must contain a suitable subject; a blank output can mean that nothing was detected.
Compare slow and quick movements. Adjust Confidence to change which detections are accepted.
Camera connects directly to PoseEstimation; Goofi reads its texture as an RGB array. Missing landmarks may leave Skeleton empty; check framing and light first.
Your camera: boxes and masks
Send the same webcam frame to object detection and segmentation.
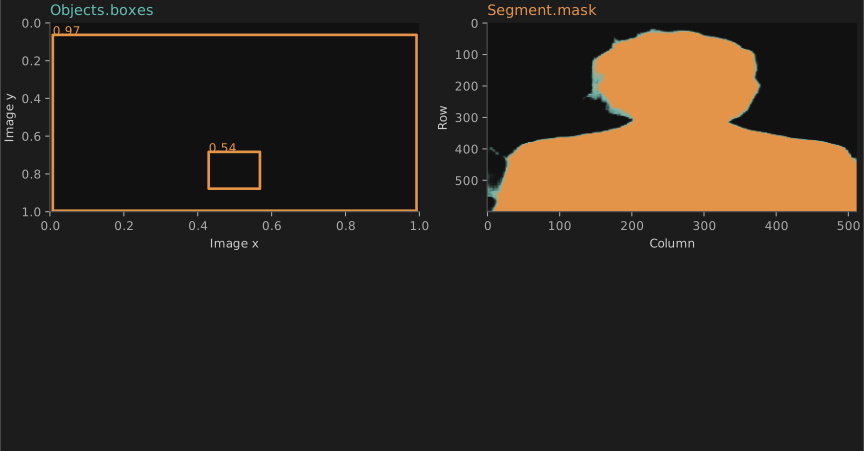
- Face the webcam and check the input image. Start with a clearly visible person.
- Watch the live mask beside the camera. Expand Objects.boxes in the graph to inspect detection coordinates and confidence.
- Raise Confidence to reject weaker object detections. Soften changes the mask edge.
Camera.outObjects.imageCamera.outSegment.imageWhat to look for. A box locates a detection with a rectangle. A mask follows the pixels assigned to the subject, including its outline.
Move an object into view while staying in frame. Compare object detections with the person mask.
Detection and segmentation answer different questions and can disagree. Segment starts in selfie mode; its mask follows the person, not every detected object.
Working practice
Use one image source
Branch the same image to several analyses so their results describe the same framing. When using Camera, convert its texture through signal GraphicsIn before connecting an array image input.
Match the input to the task
Use a clear view of the subject and start with a modest image size. Motion needs changing frames; pose needs visible landmarks; segmentation needs a supported subject or class.
Inspect before mapping
Look at the source image and the detected result together. Check missing detections and coordinate ranges before using a landmark or motion value to control another node’s parameter.